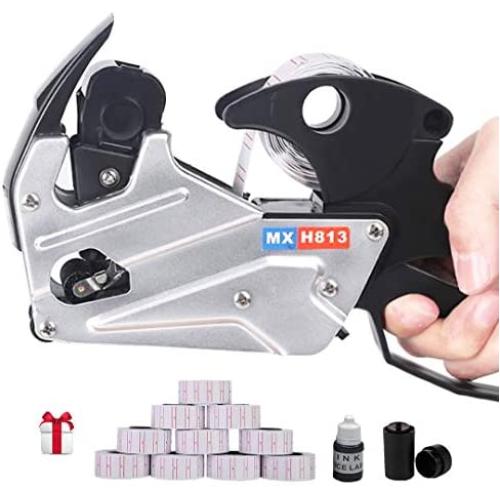
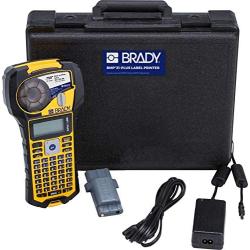
MX-h813 Price Tag Gun for Clothing Tags -Price Stickers-Expiration Date Stamp-Gun Stickers, 1 line Label Gun, Date Sticker Gun | Include: A Price Gun,10 Roll Labels,1 Ink Wheels,1 Ink
About this product
*【Multipurpose and Portable】The price label gun is designed as each date/price labels you assign and suitable for household,businesses or retail stores.
*【Usage of Tagging Gun】 In the description of this page, there are detailed steps and tips for changing the Ink Wheels, changing pricing stickers, and using the product.
*【Matters Need Attention】After setting up the tagging gun content, the dial number handle must be restored to the original position before the clear price tag stickers can be printed.
*【Comfortable and Easy Use】Rubber handle and trigger reduce user fatigue, making the label gun very comfortable. It makes it easy to make tags for tagging gun, food date labels,price tag labels,expiration date.
*【100% Guarantee Satisfaction】Buy price gun Now With Confidence, We Guarantee Satisfaction With a 100% Lifetime Money Back Guarantee.We Will Compliment You 1 price gun With 10 roll labels,and 3 Ink Wheels.
Description
?Paper steps:
1.Open the paper clip.
2.Hold the switch with your left thumb and forefinger and pull it back gently. The bottom flap will spring open.
3.Pull out a section of price tags, as shown in the tags stickers out of radian, increase the stiffness of the labels.
4.Pass through the gap between the big wheel and the tags stickers guide frame and close the tags stickers clip.
5.Her right hand to the tag machine, the left hand pull out, about 15 cm the price of tags stickers as the tags card point alignment holes and the big wheel, and then through the printing plate to push the tags into the straight.
6.heard a sound of "cut", close the bottom board, tags stickers was completed, and then by adjusting rod screw to print to print characters.
(note: white word is the CNS, convenient for the operator to know, really printing is corresponding to the black the words)
?Ink wheel assembly and disassembly steps
1.Hold the price machine in the right hand and the ink holder in the left hand. Put the side with ink wheel into the price machine first.
2.Ink shelf end convex semicircle card into the price machine concave semicircle.
3.The left hand to the ink frame gently pushed in, to be on both sides of the small card point is fully buckled into the price machine, the ink frame installation is complete, remove the ink frame steps on the contrary, index finger in the ink frame under the end (the circle has a triangle place) hard to dig out.

